
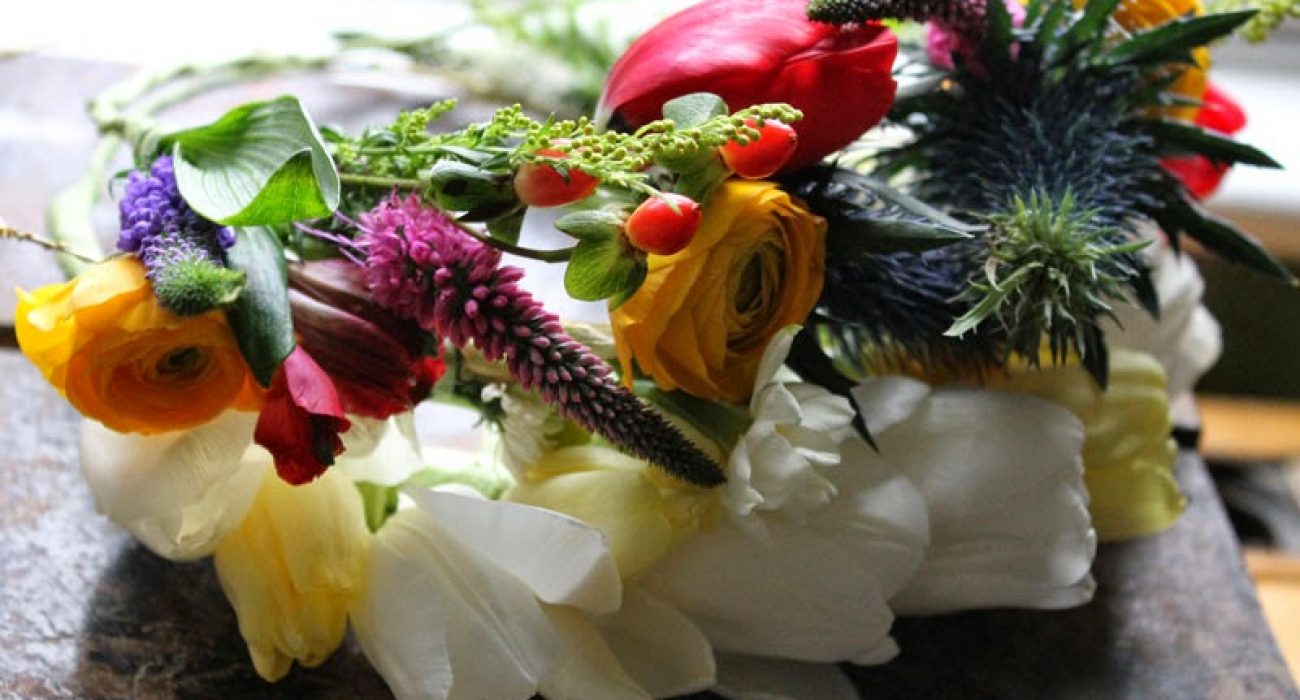
What springs to mind when you hear ‘DIY flower crowns’? For me, it’s my kiddos running wild in the garden, their little faces alight with pure, undiluted joy as they prance around, crowned by tiny bursts of nature. It’s like a homemade Midsummer Night’s Dream in our own backyard—how delightfully enchanting is that?

Crafting flower crowns has become our go-to when the sun’s out, and the day begs for something a sprinkle more special. It’s simple yet utterly magical, just the way childhood crafts should be. To whisk you away into our sun-kissed wonderland, you’ll need some flowers (anything from your garden or even lovely fake ones from the craft store), floral wire, tape, and the zest of mini creatives.
It all starts with a flower hunt, which, let me assure you, is a thrill for the little explorers. As their little feet scamper around, clutching a basket, on the lookout for the perfect flowers, you can’t help but wish these moments could be bottled up—pure gold, I promise.
Next up, it’s DIY-ing the crowns, and this bit’s just as breezy as our summer afternoons. After measuring the floral wire around their heads (secret tip: always allow a little extra for twisting it shut), I hand the reins over to my eager beavers.
Crafting these flower crowns with my wee ones, and seeing them become the little kings and queens of their tiny kingdoms, just warms the cockles of my heart. It’s a snippet of summer captured in intertwined flowers—a vibrant crest of joy! So, grab that floral wire, summon those bustling bees, and let’s crown ourselves in blossoms.


Flower Crowns
Ok lets get making…
You will need the following materials
Flowers (of course!)
Florists wire
Florists stem tape


STEPS
Step 1. First, cut a length of wire longer than the circumference of your head. Make a circle shape so
that it fits snugly around your head but allows enough space to add your flowers. For this crown, I used fine wire doubled up but I also recommend this thicker wire too.
Select your flowers, use a mix of buds, leaves, and sprigy flowers to give balance and depth to your crown.
Step 2. Taking three flowers at a time cut the stems about 7cm from the base of the bud.
Step 3. Gently wrap with the fine florist wire. Use your judgment, too loose and the flowers will come
loose, too tight and you will snap the stems.
Take another piece of wire and fix your bunch of flowers onto the wire. If you are going to do a full crown with no wire showing then it makes no difference where you start but if you are going to have your wire on show then aim to cover up where you have twisted your wire together.
Step 4. Take your florist tape and wrap the stems and wire so they are covered, stop wrapping about
1.5cm from the end of the bunch.
Step 5. To complete your design, repeat the above steps ideally using a different mix of flowers each time.
Step 6. When you have added your desired amount of flowers you will need to finish the ends off. Once you have attached your final bunch to the band cut the stems close to the end of the wire.
Wrap your florist’s tape around the final bunch and onto the wire. Cut off any extra tape. If you want to
cover up your wire keep wrapping the tape around the whole band.
The most important thing when making these crowns is to have fun, you don’t need too many flowers to create a real masterpiece. I made these crowns with a group of blogger friends and we had lots of giggles trying different styles and gradually making them bigger and bigger – I must warn you
these are rather addictive!
If you enjoyed this post you may like:
If you enjoyed this post you may also like:
Cardboard Crafts for a rainy day
Glitter Easter eggs
DIY dressing table